The UP! 3D printer blog post originally published in November 2011
Note: the article below was originally published on my now defunct KnowIt blog in November 2011. Links have been updated or adapted, or may be broken.
I guess most of us have printed a letter, photo or invitation at one time or another. And for most of us that means sending a Word or Pages document to a laser or inkjet printer.
2D printers
An inkjet printer squirts ink onto a page — the page rolls through the printer while a cartridge moves across the page squirting out a layer of ink.
With a laser printer the paper rolls through the machine while a hot wire melts a layer of toner powder onto the page. The toner contains fine particles of dry plastic powder.
In both cases the output is a single layer of ink or toner on a sheet of paper. The layer extends up and down and across the page, but it has no depth.
3D printers
3D printers are becoming quite popular — they create items that have height, width and depth.
In October I was lucky enough to be able to try out an UP! 3D printer from 3D Printing Systems New Zealand, and it was quite an experience. I should point out that although I’ve often mentioned 3D printers in my Tech Universe column I’ve never actually seen or used one before.
The printer I tried out was a demo model, not a brand new machine. That caused me a couple of minor set up problems that shouldn’t crop up with a new item.
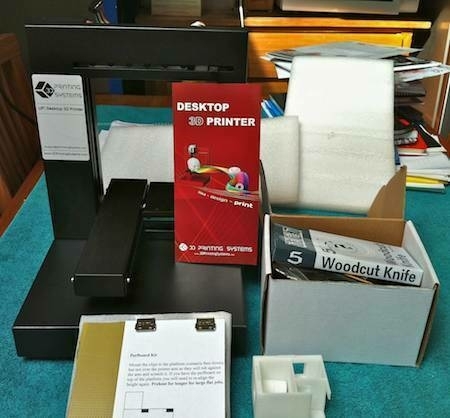
UP! 3D printer and associated items.
Small and light
It’s a 50 metre walk from the road to our house and I imagined some poor courier arriving on the doorstep red faced and out of breath. So I was surprised to be handed a lightweight and not overly large package containing the printer, a large spool of plastic and sundry related items.
My photo above shows the printer (not yet fully assembled) sitting on my kitchen table in front of a pile of books. The red brochure gives you an idea of its height and width.
Layers of plastic build up an object
How this printer works is that a spool of ABS plastic filament feeds through a nozzle that melts it onto a platform. The platform moves up and down and forward and back, while the nozzle moves side to side.
The nozzle melts layers of plastic, precisely one on top of the other, to build up a 3 dimensional item.
I was supplied with white plastic, but black, red, blue, yellow and green are also available.
This video from 3D Printing Systems shows how it works.
Assemble the printer
Before I could use the printer I had to follow some simple and clear instructions for attaching the holder for the spool of filament, the wee motor that pulls filament from the spool, the printer head assembly and the platform. I’d been supplied with several Allen Keys and a variety of screws for attaching the items.
It was pretty simple to set up, but my first print run didn’t work so well because I hadn’t tightened the print head enough. Oops! It needs to be firmly attached.
Prepare for printing
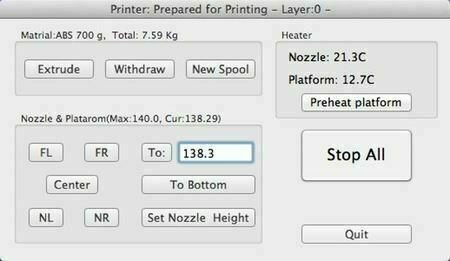
Preparing for printing.
I needed to follow some reasonably clear instructions to set the correct height for the platform and gap between the nozzle and platform before I could print.
Open source plans
I didn’t actually have anything I wanted to print, so I spent quite a while browsing Thingiverse, an amazing source of plans. People have created all sorts of plans for all sorts of objects and shared them online.
After much browsing I settled on several possible objects, including an iPad stand that looked very straightforward and a flying saucer made up of several parts with some aliens.
The UP software
The Mac software is pretty easy to use. Load a .stl file and click the Auto Placement button to centre the object on the platform.
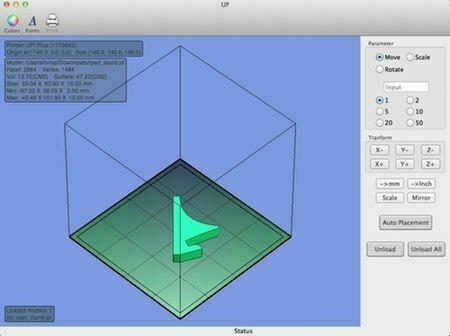
The UP software for the printer.
Information boxes down the left side of the main window tell you about the size and volume of the object. When you’re ready to print choose Print from the 3D Print menu.
I didn’t find the information panels easy to read as they used small dark text on a darkish transparent background above a blue area. It’d be good to see this aspect of the software improved.
I really like that the software tells you how long printing will take — and it seemed fairly accurate.
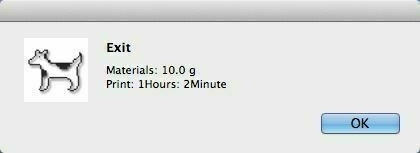
An estimate of printing time.
Another great feature is that once the printing instructions have been sent to the printer you can unplug the Mac from the printer. It uses an ordinary USB cable.
I printed a nice little iPad stand
Once I’d sorted out the settings and everything was correctly tightened I printed the 2 parts of a simple iPad stand. Each part took an hour and turned out beautifully.
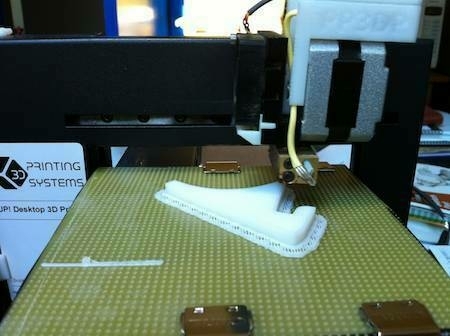
The printed iPad stand looks crisp.
There’s some support material that’s printed at a lower resolution that is easily stripped away. You can see it in the photo as a sort of lacy edge around the stand. I used the woodworking tools I’d been sent and it was quite fun to remove the excess material.
The stand weighs nothing and holds the iPad in a great position.
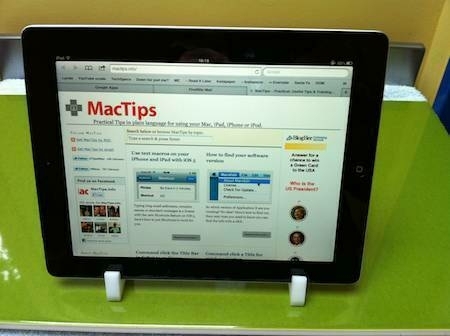
Printed iPad stand.
The downside of printing
The models I tried took between one and several hours each to print. I started with the printer on the kitchen table. I found though that when the plastic melts it produces quite pungent fumes, worse if the plastic burns. It reminded me of my adolescence when we’d melt our biros over the bunsen burners during science lessons at school.
Eventually I moved the printer to the bathroom where I could open the window and shut the door.
It’s exciting technology
It’s amazing to think that for less money than laser printers cost when they were introduced we can buy a tiny manufacturing plant and create objects as we need or want them.
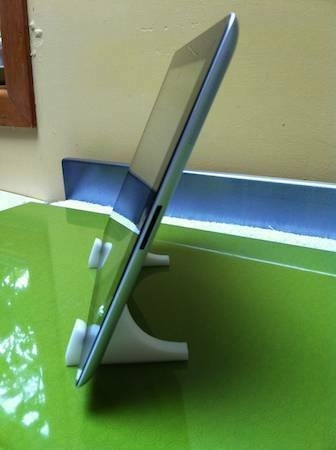
Printed iPad stand - side view.
I was thrilled to be able to try out this 3D printer. There are plenty of people who would have a lot of use for this kind of thing. I’m thinking home handypeople, hobbyists, anyone who wants to prototype an object they’re designing. And how about architects and designers?
We’re about to have the 50 year old kitchen ripped out of our house and replaced with modern drawers that really slide, cupboards we can reach, a pantry …
The kitchen designer mocked up coloured pictures on the computer, but it’d be great to be able to see the new kitchen as an actual model.